

How do I add a fringe to a throw blanket?
Jun 17, 2025
Hey there! I'm a supplier of throw blankets, and today I wanna share with you how to add a fringe to a throw blanket. It's a fun and easy way to give your blanket a unique look and make it even cozier. Whether you're looking to spruce up an old blanket or create a brand - new one from scratch, this guide will walk you through the process.
Why Add a Fringe?
First off, you might be wondering why you'd want to add a fringe to your throw blanket. Well, a fringe can add a touch of style and personality. It gives a bohemian or rustic vibe, making your blanket stand out from the rest. It can also add a bit of extra length and bulk, making the blanket feel even more luxurious and warm. And let's not forget, it's a great way to show off your creativity!
Materials You'll Need
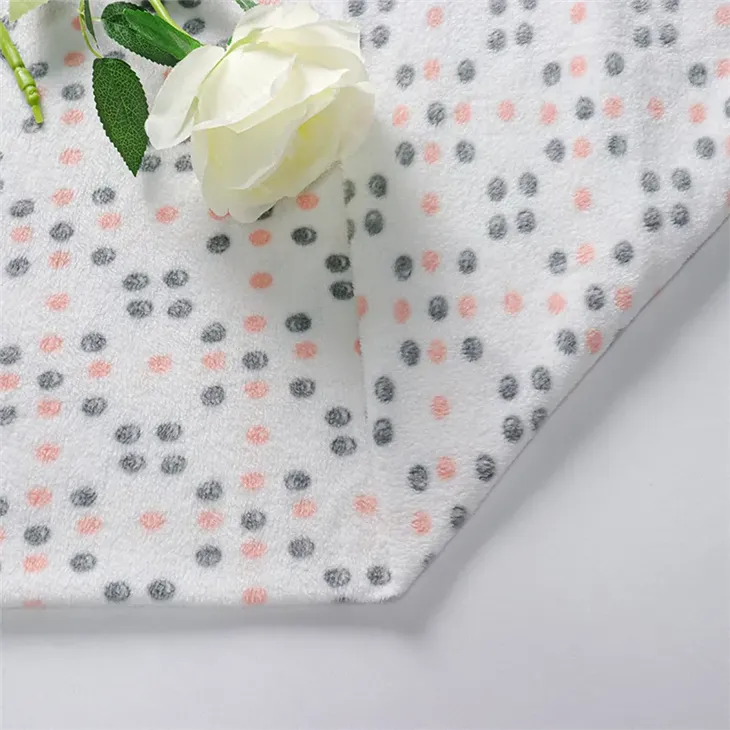
Before you start adding that fringe, you'll need to gather a few materials. You'll obviously need a throw blanket. I've got a wide range of options at my store, including the 100% Polyester Printed Polar Fleece Fabric. This fabric is super soft, durable, and comes in a variety of cool prints.
In addition to the blanket, you'll need some yarn. You can choose a yarn that matches the color of your blanket for a more subtle look, or go for a contrasting color to make the fringe really pop. You'll also need a pair of sharp scissors, a tapestry needle (if you're using a certain method), and a ruler or measuring tape.
Preparing the Blanket
The first step is to prepare your blanket. Start by laying it out flat on a clean, smooth surface. Make sure it's free of any wrinkles or creases. If your blanket has a finished edge, you might need to trim it off to expose the raw edges where you'll add the fringe. Use your scissors to carefully cut along the edge, making sure to cut in a straight line.
Measure how wide you want your fringe to be. A common width is around 2 - 3 inches, but you can go wider or narrower depending on your preference. Mark the width along the edge of the blanket using a fabric marker or a piece of tape. This will help you keep your fringe uniform.
Cutting the Yarn
Next, it's time to cut the yarn for the fringe. Cut the yarn into lengths that are about twice the length of the desired fringe. So, if you want a 3 - inch fringe, cut the yarn into 6 - inch pieces. You can use a ruler or measuring tape to make sure all the pieces are the same length.
You'll need to cut a bunch of these yarn pieces. The number of pieces you need depends on how thick you want your fringe to be. A good rule of thumb is to cut enough pieces so that there's about one piece per half - inch along the edge of the blanket.
Adding the Fringe
There are a couple of different ways to add the fringe to the blanket. One popular method is the "loop" method. Here's how it works:
Take one of the cut yarn pieces and fold it in half. Then, slide the folded end through the edge of the blanket at the marked width. Pull the two loose ends of the yarn through the loop you just created and tighten it. This will create a little knot at the base of the fringe.
Continue doing this all along the edge of the blanket, spacing the fringe evenly. You can use your fingers to separate the strands of yarn and make the fringe look nice and full.
Another method is to use a tapestry needle. Thread the needle with one of the cut yarn pieces. Push the needle through the edge of the blanket from the back to the front, then pull the yarn through until there's about an inch of yarn on the front side. Tie a knot at the base of the yarn on the front side of the blanket to secure it. Repeat this process all along the edge.
Finishing Up
Once you've added all the fringe to the edge of the blanket, give it a good shake to fluff up the yarn. You can use your fingers to separate any clumped - together strands and make the fringe look nice and even.
If there are any loose ends or uneven pieces, use your scissors to trim them. You can also give the fringe a light brush with a fabric brush to make it look even softer and more fluffy.
Customizing Your Fringe
Now that you've added the basic fringe, you can get creative and customize it even more. You can add beads or tassels to the ends of the fringe for an extra bit of sparkle. You can also experiment with different yarn textures, like using a chunky yarn for a bold look or a thin, delicate yarn for a more refined look.
You can even add multiple layers of fringe. For example, you can add a layer of shorter fringe close to the edge of the blanket, and then a layer of longer fringe on top of that. This creates a really cool, dimensional effect.
Why Choose My Throw Blankets?
As a throw blanket supplier, I take pride in offering high - quality products. The 100% Polyester Printed Polar Fleece Fabric is not only soft and warm but also easy to care for. It's machine - washable, so you don't have to worry about it getting dirty.
I also have a wide selection of designs and colors to choose from. Whether you're into floral prints, geometric patterns, or solid colors, I've got something for everyone. And if you're looking to add a fringe, my blankets are the perfect base.
Contact for Purchase
If you're interested in purchasing a throw blanket from me or have any questions about adding fringe or customizing your blanket, don't hesitate to reach out. I'm here to help you find the perfect blanket and make it even more awesome with a fringe.

References
- "The Complete Guide to Knitting and Crochet" by Debbie Bliss
- "Fabric Crafts for Beginners" by Jane Smith
- Online tutorials on YouTube about adding fringe to blankets